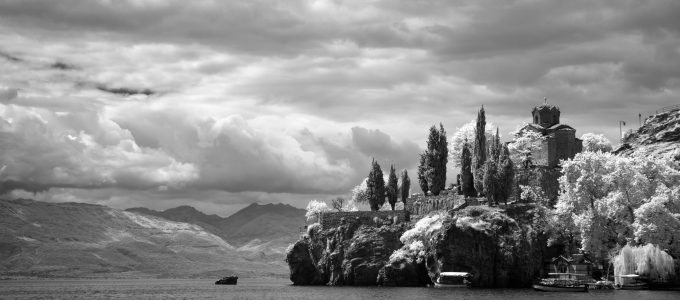
Category: Infrared
The modern camera sensors are sensitive to a wider range within the electromagnetic spectrum, including the infrared light. However, the widely available color cameras on the market include an infrared blocking filter (or, simply, IR filters) in front of the sensor. If they did not, all photos that we take would have a strong reddish tint, as the infrared signal would get sorted together and stored in the pixels reserved for the color red in the Color Filter Array (Bayer Filter).
How to take photos in near infrared (NIR) without procuring a specialized camera? First, a regular color cameras (e.g, a DSLR camera) needs to be disassembled and the IR-blocking filter needs to be taken out. Secondly, a filter that blocks all light except the infrared light (IR-pass filter) needs to be inserted, either within the cameras, or in front of the camera lens.
There are various types of IR pass filters on the market, depending on which wavelength range is allowed to pass through.
The image taken with digital equipment described above would produce a red image that needs to be post-processed. In case the filter has a very low cut-off frequency, only IR light will pass through and only ‘red pixels’ will be used on the camera. This means that the resulting image has no color definition except in the red, which makes it a monochromatic image. If the cut-off frequency is not strict, some visual light will pass through and hit the green and the blue pixels and could be used later to produce the classical infrared photographs, such as those featured below.
The post-processing of the images posted below included shifting the white balance significantly and, in most cases, swapping the red and blue channels (in order to get the sky to be blue). Here is the example of a photo without the two channels swapped.


